Module 3 Formstorming
Weekly Activity Template
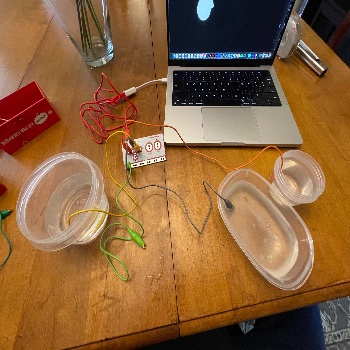
This document displays my weekly formstorming activities with both P5Js and a Makey Makey.
Project 3
Module 3
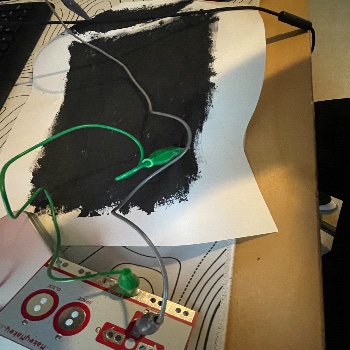
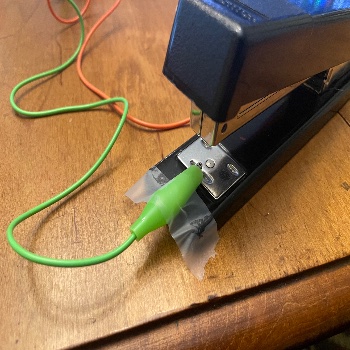
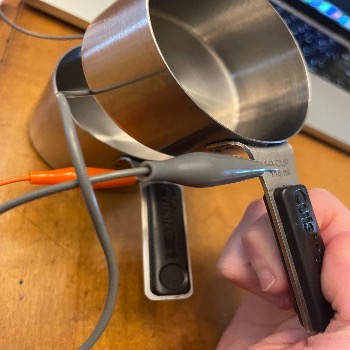
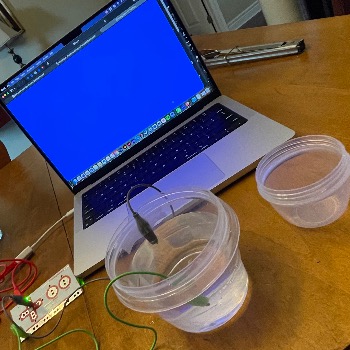
This is the various ways that I expirimented with the P5Js Language and the makey makey to create interactive elements.
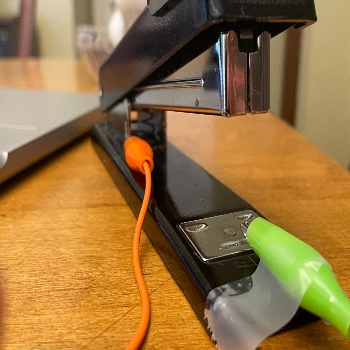
Activity 1


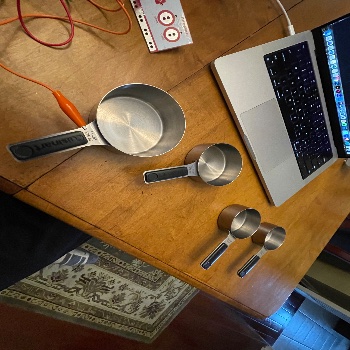
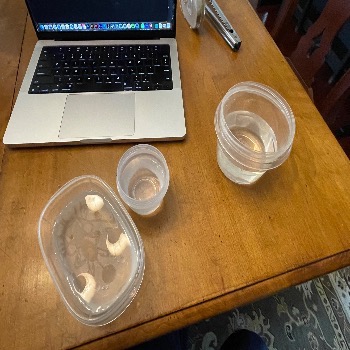
Activity 2


Project 3
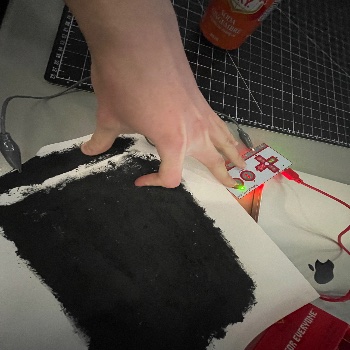
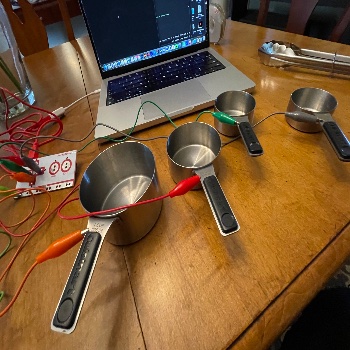
Final Project 3 Design
This is my final design for project 3. The design is a interactive DJ booth where users can interact with the physical buttons and visuals on the screen will react to users input.

Powered by w3.css